Takeoff w/ Toolbox |
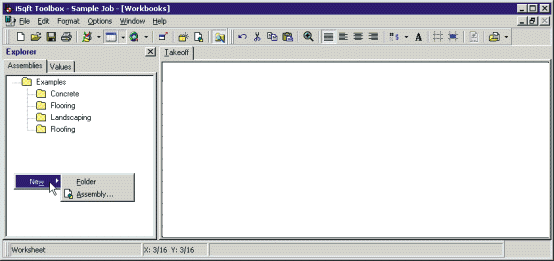
One last thing to show you about the software is how to create your own assemblies. Click back on the Assemblies tab and if you right click in the white area below the examples folder you will see the option to create a New Folder or a New Assembly.

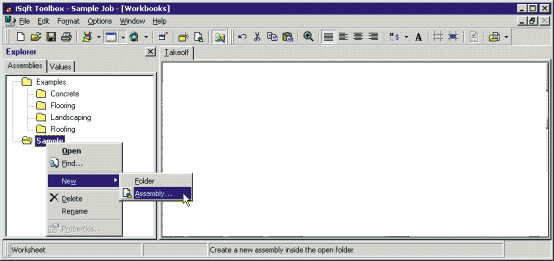
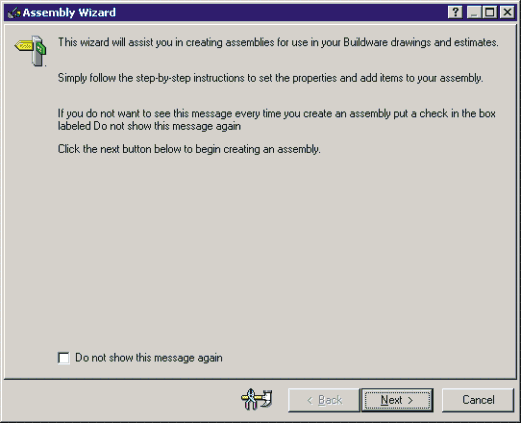
Choose New Folder first and give it a name. After you have named it, right click on that folder and this time go to New Assembly. This will bring up an Assembly Wizard that will walk you through creating your own assemblies.


If you hit the “Next” button, you’ll see where it asks for the name of the assembly. Next again and it will ask you what this assembly will measure: Area, Linear, or a Count value. Next again, and it will ask you for the units of measure.
“Next” again, and depending on whether you have chosen Area, Linear, or Count, you can choose between Drawing Modes. (Polyline or Polygon modes recommended.)
Hit “Next” again, and you will have the option to change the line color, line thickness, style of crosshatching, color of crosshatching, etc. This feature enables you to color code your assemblies so that you can differentiate between multiple assemblies on the drawing screen.
Ideally, this Assembly Wizard will enable you to customize your own library of assemblies to measure plans with. Once created, they will remain on the left side of the screen and be available for every job that you takeoff.
> Printing Plans and TakeoffsIf have any additional questions about the Toolbox, sign up for an Online Toolbox seminar at http://www.isqft.com/SeminarRegistration.asp