Takeoff w/ Toolbox |
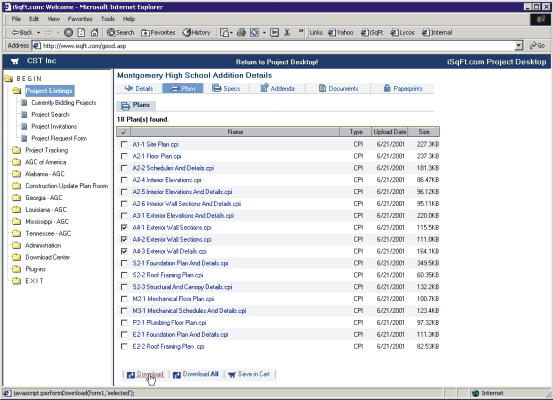
To save plans to your computer, go to the Plans section of a Project on the website. Check the box next to the Plans that you need, and hit the Download button.

Next, you will see an AppletFile Download window appear on your screen.
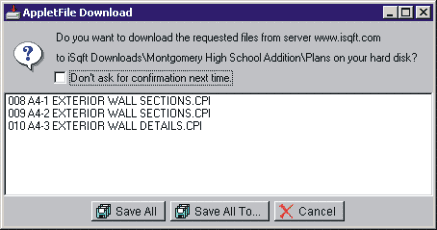
If you hit the Save All button, the system will automatically create a folder named after that job and save the plans to your computer’s desktop under iSqFt Downloads.
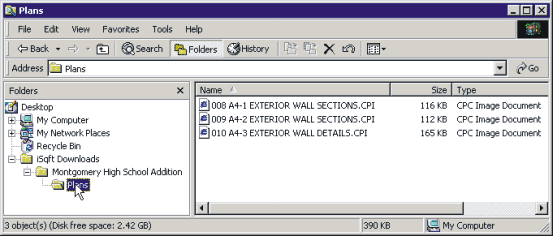
Now when you go into the Toolbox and Add Plan, simply browse to the iSqFt Downloads folder on your desktop and find the job that you are looking for.
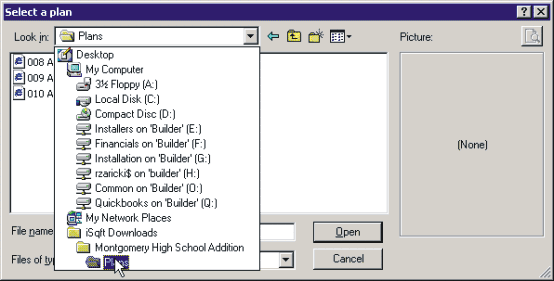
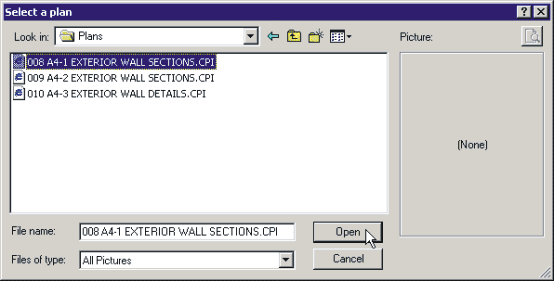
After going to the Plans folder, click on the plan you want to import, and hit Open.
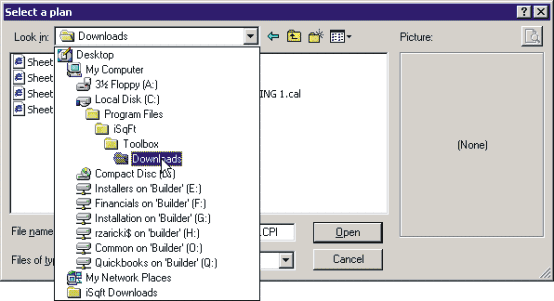
So that we are both looking and working off the same plan for the rest of this exercise, let’s import the Sheet-002 R1 Roof Plan from the C:/Program Files/iSqFt/Toolbox/Downloads folder. This is a sample plan that is automatically installed with the Toolbox software.
You might also note that when you import multiple plans, each plan will have a tab across the top of the Drawing screen. To flip back and forth between Plans simply click on the tabs.